Mailsyrup setup
1. Create Mailsyrup account
Go to MailSyrup app and create a free account. After account email veryfication you should be able to access app dashboard.
2. Add a new brand
brand - your company's unique visual identity, including logo, colors, and design preferences.
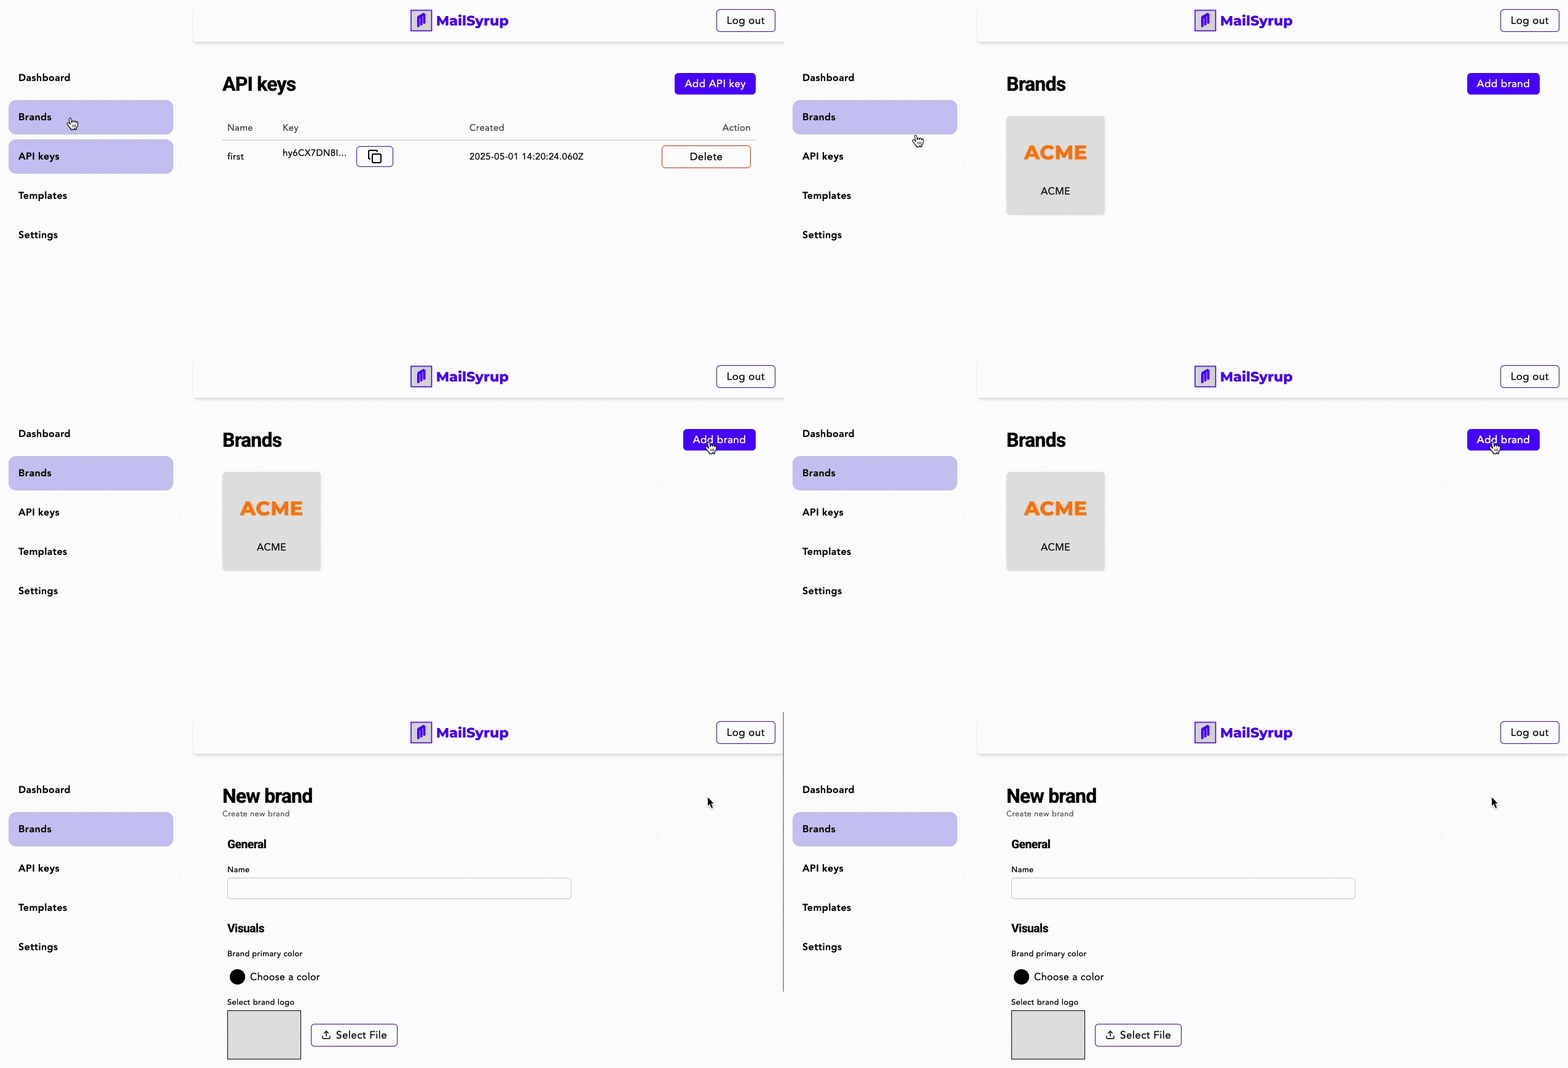
Click Brands > Add brand

Provide:
Name (required) - name of your company or brand, later used in email title and footer.
Brand primary color (required) - primary color of your brand. Main color of your brand is recommended (e.g. one you use for your primary buttons), we will try to compute other colors based on it.
Brand logo (optional) - logo used in your emails. Make sure logo has transparent or white background and has size vertical and horizontal size between 200px and 500px and less than 5mb.
Logo size (optional) - sets the size of the logo - preview shows the real size of logo used in future emails.
Address (required) - physical address of your brand's company (for CAN-SPAM Act and GDPR compliance), included in email footer
City (required) - city of your brand's company (for CAN-SPAM Act and GDPR compliance), included in email footer
Zip Code (required) - zip code of your brand's company (for CAN-SPAM Act and GDPR compliance), included in email footer
Country (required) - country of your brand's company (for CAN-SPAM Act and GDPR compliance), included in email footer
Company Phone (optional) - phone number to contact your company/brand, included in email footer
3. Copy brandId
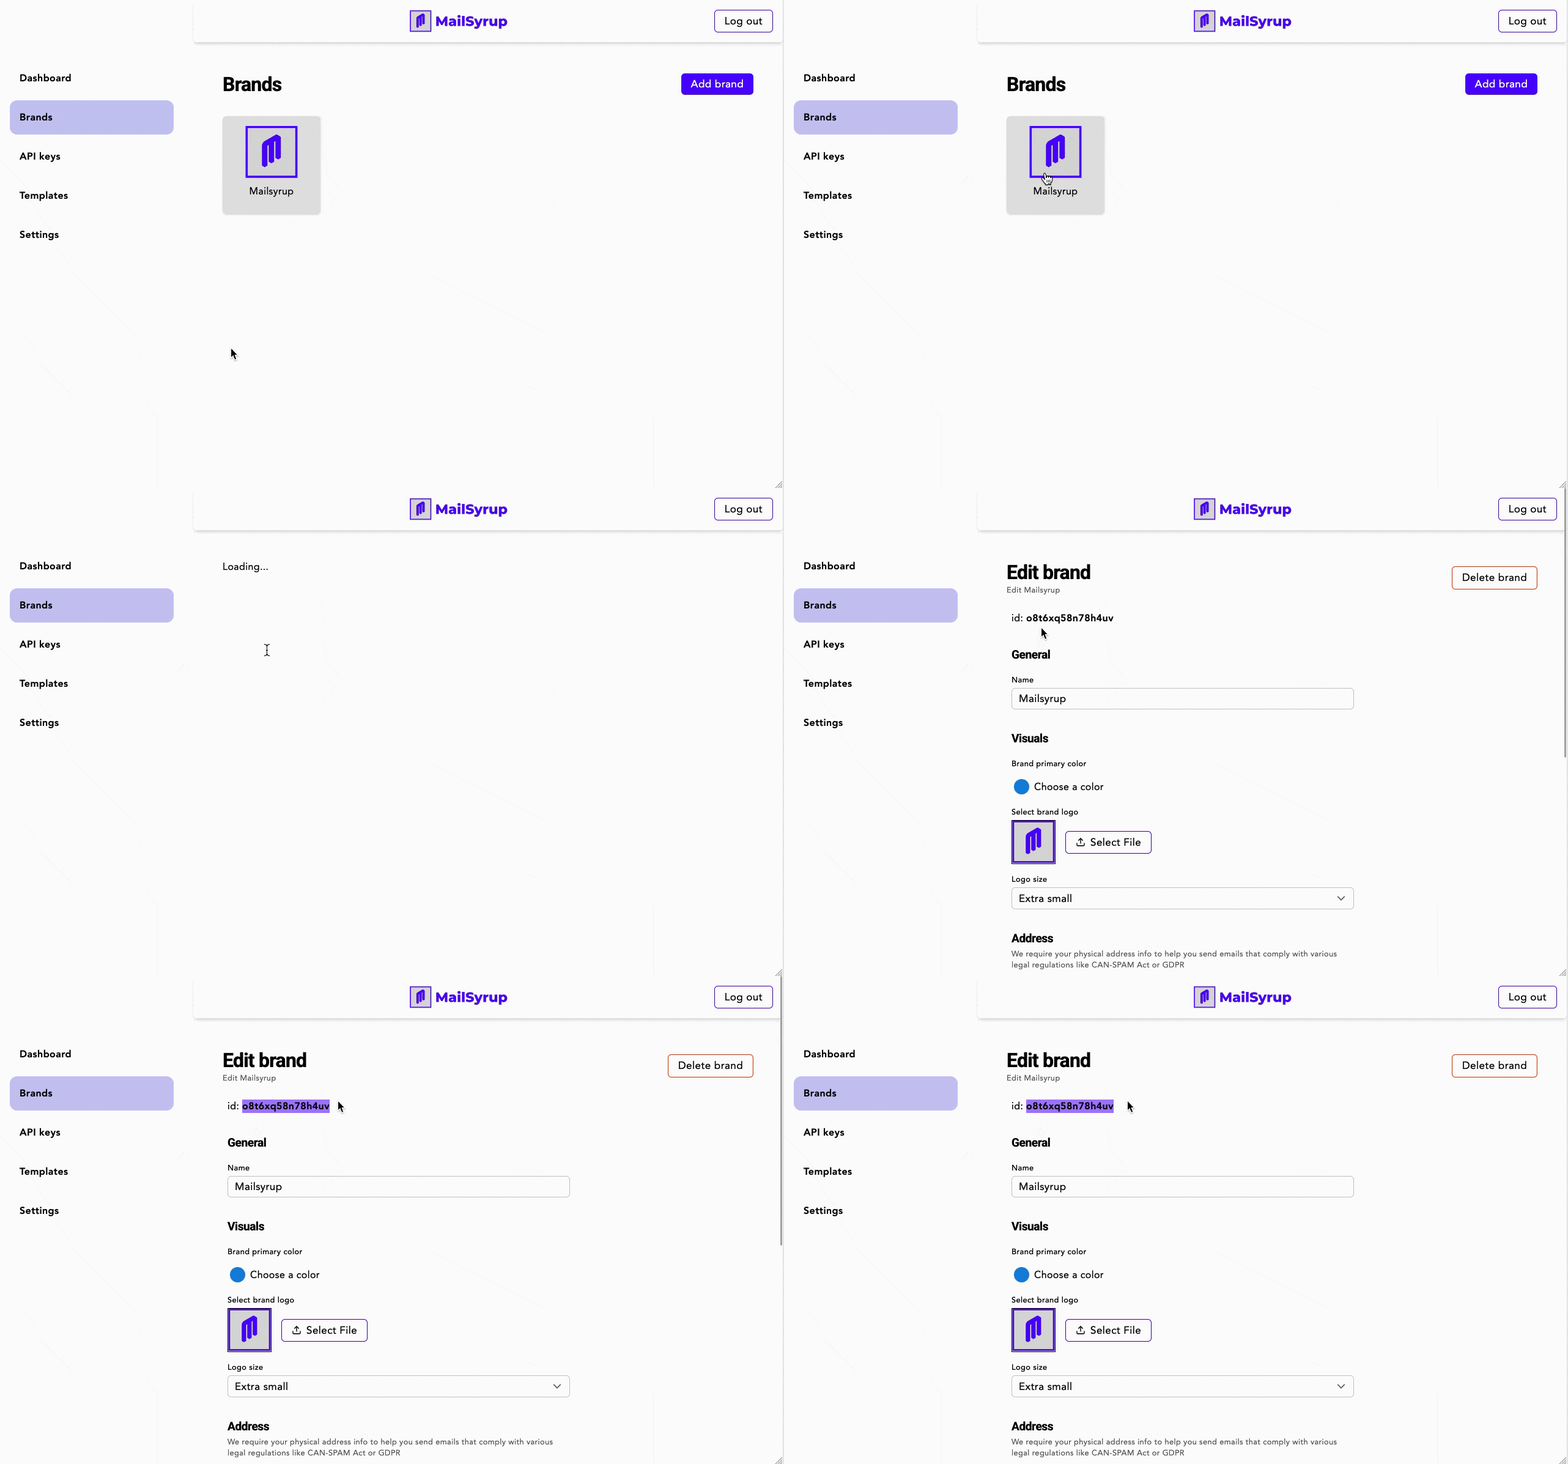
To use API you will need brandId of the brand you have just created.
Go to Brands > your_brand_name and copy the text after id:.

4. Generate API key
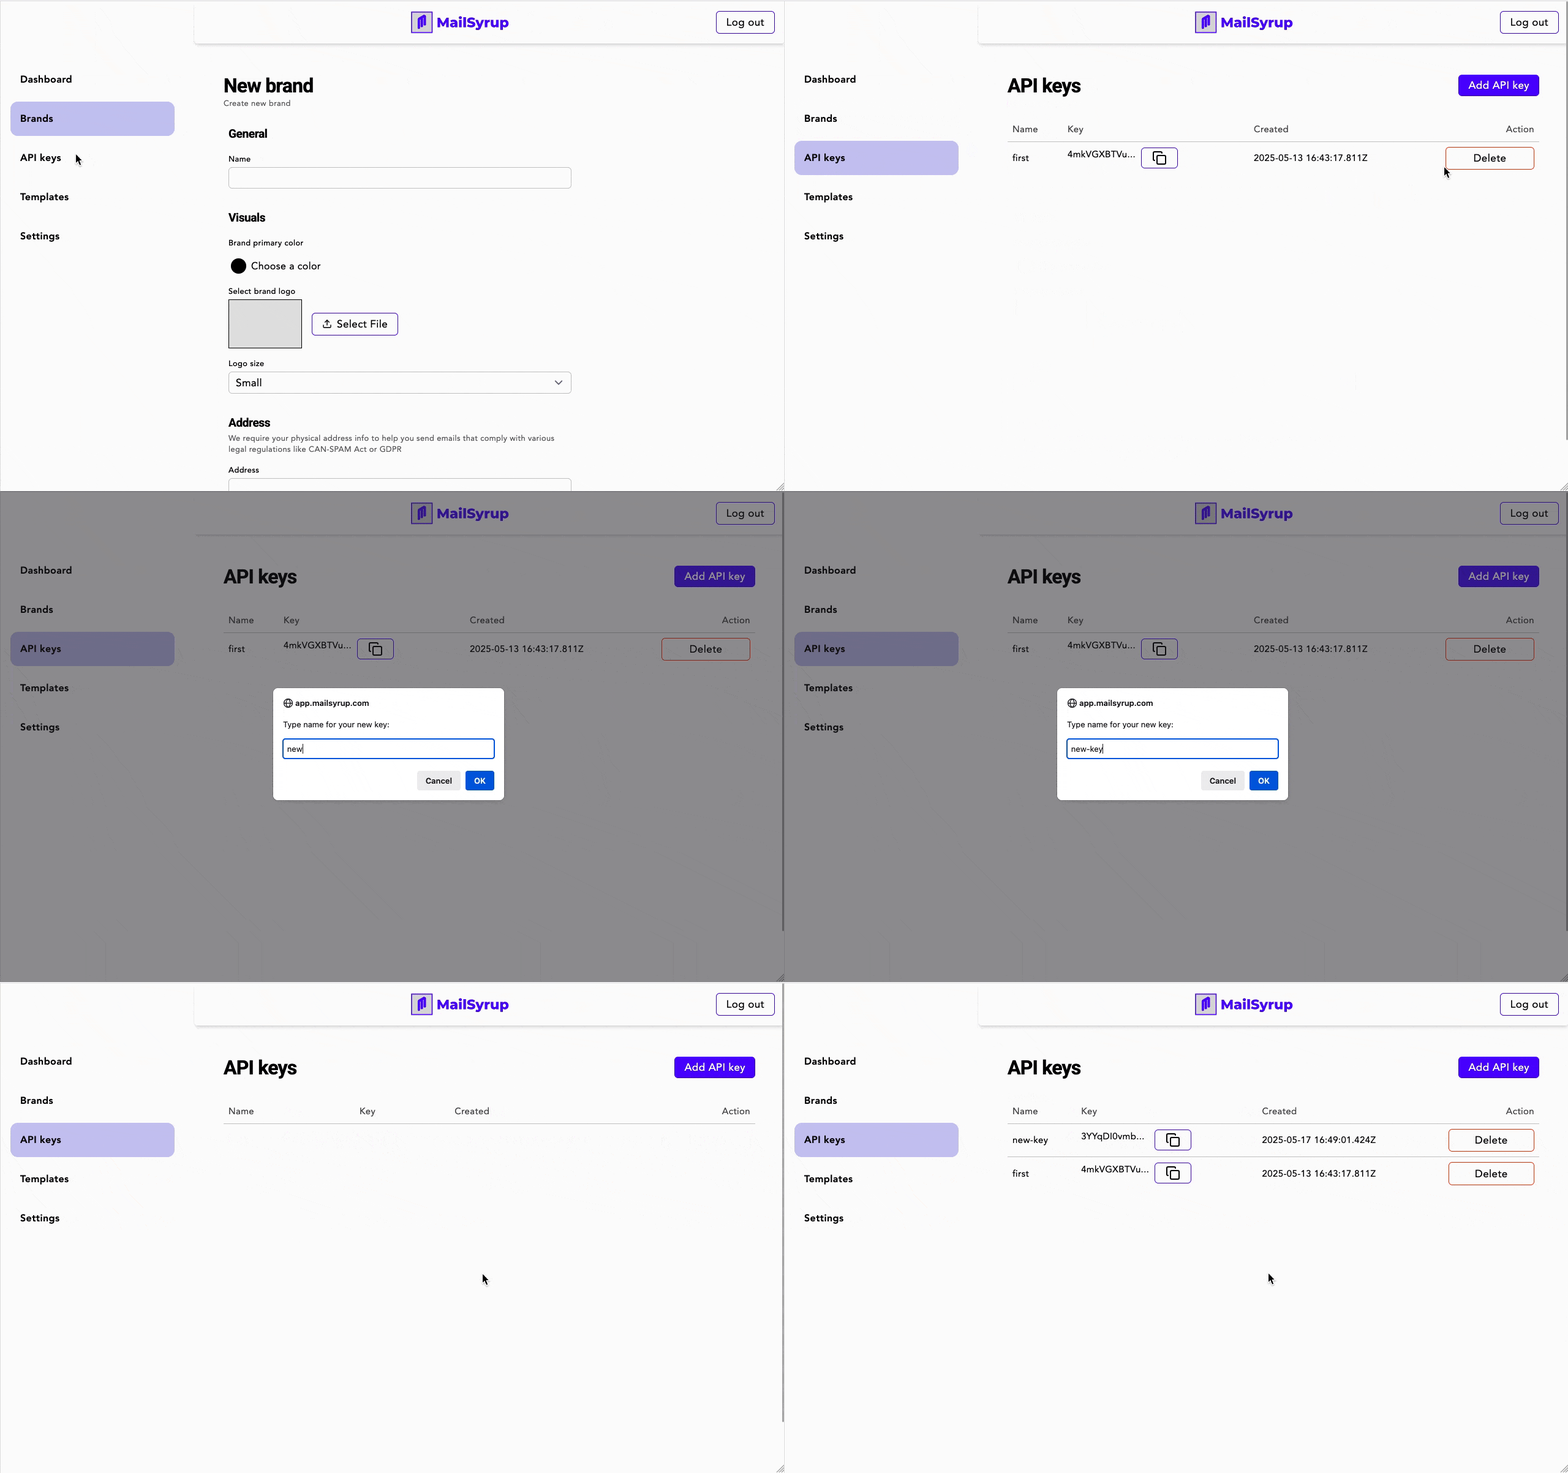
Click API keys > Add API key

Provide name for your API key.
Congratulations
🎉 Congratulations! You have successfully configured Mailsyrup account.